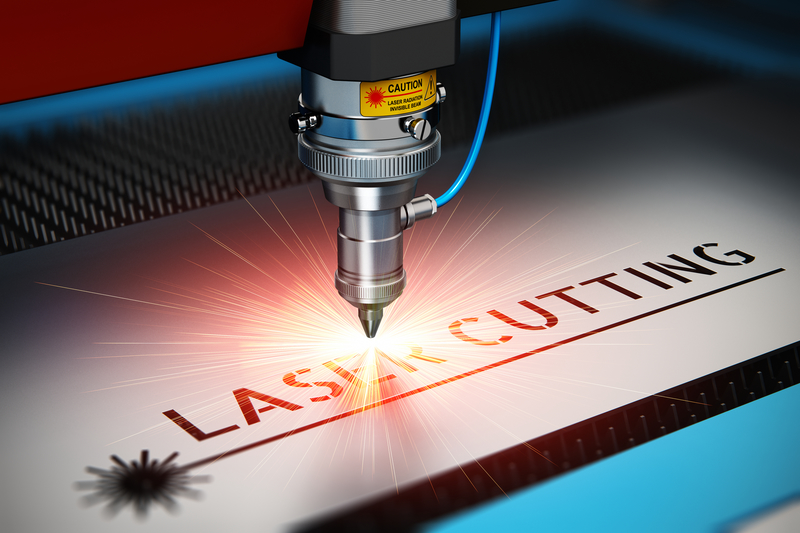
 Laser marking has long become the standard for direct part marking in various industries. Some might wonder how is it that this non-contact method provides the quickest, most permanent and detailed marks among all other methods. Let’s dig into the basics of using a beam for engraving products.
What Is A Laser?
To go for a simplified explanation, laser is a method of directing light in a way that it can force the change in the substance it interacts with. Its efficiency and accuracy have made it the universal tool for versatile applications like cutting, removing, welding and, surely, marking.
How Is It Used To Mark Materials?
The evolving demands to the speed and quality of product lines have introduced laser technology to part inscribing. Laser machines have quickly dominated the industrial market with their ability to work with various materials, manage any graphics from simple numbers to high resolution pictures, and suit industrial environment. Today the choice of laser engraving tools has significantly grown, providing different types of devices. One of the biggest suppliers of marking machines www.heatsign.com offers 3 major types: fiber, CO2 and UV laser.
The Main Reasons For Preferring Laser Marking
- Mark quality and precision
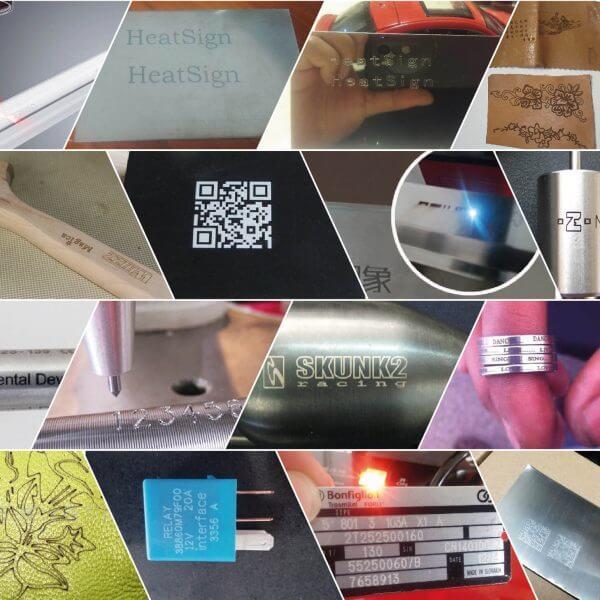
The range of options for a high resolution pattern includes symbols, codes and graphics of any complexion level; any mark or part size; different depth levels and the usage of coloring.
- The variety of materials
This method can handle metal, wood, plastic, paper, fabric laser marking, etc.
- The top speed
The technology keeps pace with the speed of the product line causing no delays.
- Durability and reliability
The imprints created are highly permanent and resistant to wear and any type of physical influence.
- No consumables
The devices are easy and cheap in everyday maintenance, unlike some engraving technologies.
How To Apply Marks Using A Laser Machine?
The general idea of the workflow with laser equipment averages to 3 steps.
- Deciding on the template.
The first step is creating the pattern to mark in digital form. It is usually done with graphics editing tools like CorelDRAW or Adobe Illustrator, or with special software provided by laser marking machine suppliers.
- Check machine settings
When the digital template is ready, it is time to configure the machine and define the speed, power and other features depending on the result needed. Good news is that if the material and characteristics do not change, you only need to preset the device the first time, and skip this stage for further jobs.
- Let the machine do the magic
Now that everything is ready, the machine will engrave the pattern on the part. No need for any post-production processes!
However, please note that the exact scheme varies for any specific equipment and should be thoroughly examined in user manuals.
As you see, harnessing the power of amplified light for inscribing parts has brought the new level of quality, wear resistant, exquisite and automated marking.